Adding a New Asset
Any user with a profile where Can Managed Assets is enabled can manage assets within the system.
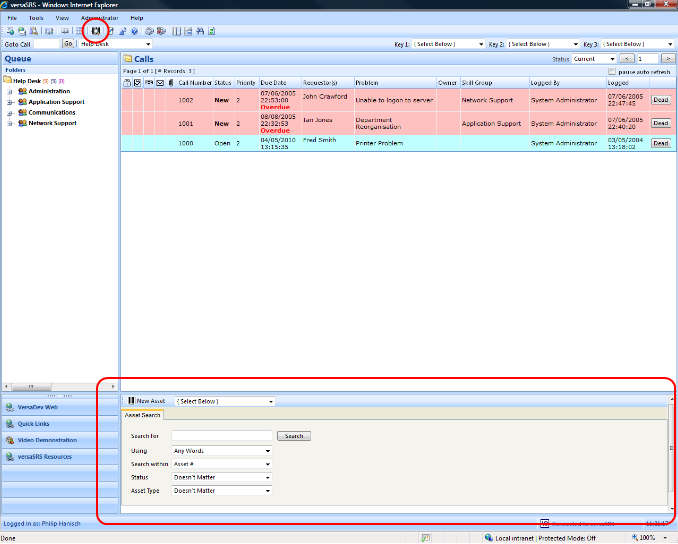
- Open the asset search window by selecting the
 button.
 - Select the Type of Asset you wish to create from the available list.
- Select New Asset . This will open the Manage Asset window.
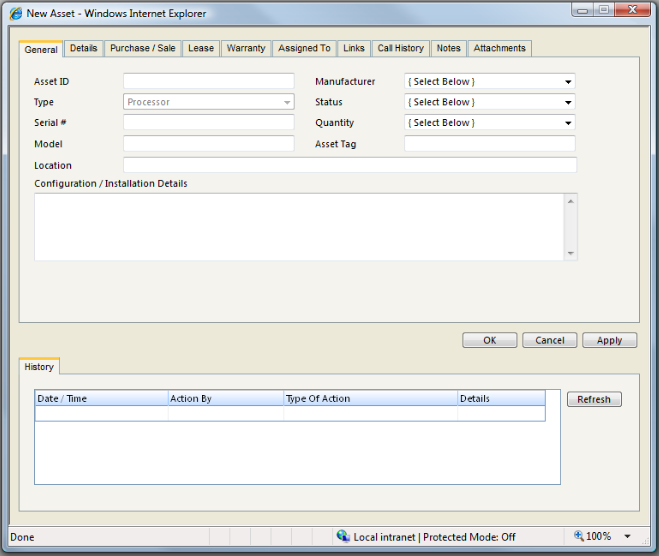
Under the General Tab
- Enter the Asset ID for the Asset
- Select the Manufacturer of the Asset from the pre-defined drop down list.
- Select the Asset Status from the pre-defined drop down list.
- Check the Computer Workstation checkbox if appropriate.
- Enter the Computer Name for the Asset if appropriate.
- Enter the Serial # for the Asset.
- Enter the Model of the Asset.
- Enter the Asset Tag of the Asset.
- Enter the the Location of the Asset.
- Enter the Configuration / Installation Details for the Asset.
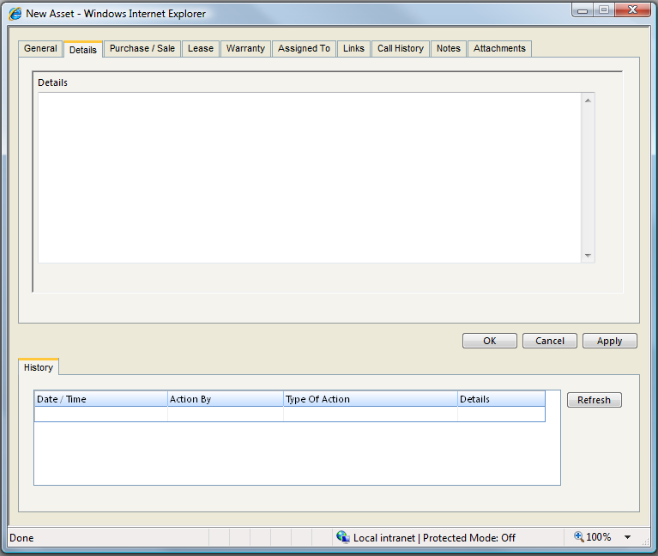
Under the Details Tab
- Enter additional details in the field provided.
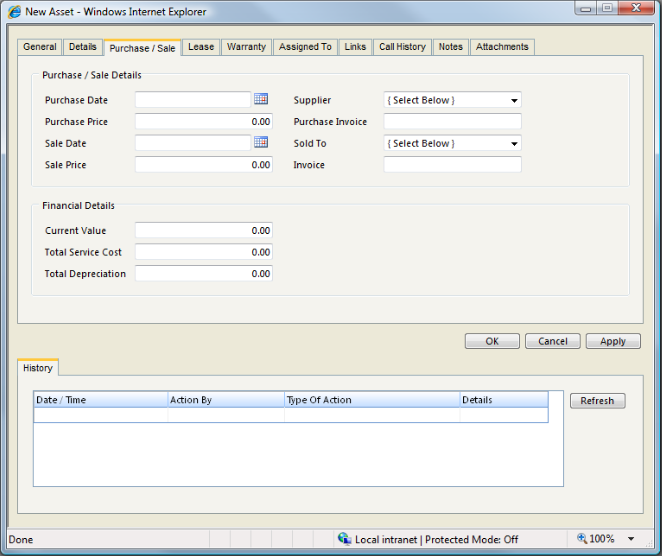
Under the Purchase / Sale Tab
In the Purchase / Sale Details Section
- Enter the Assets Purchase Date.
- Enter the Asset Supplier.
- Enter the Assets Purchase Price.
- Enter the Purchase Invoice for the Asset.
- Enter the Sale Date for the Asset.
- Enter who the Asset was Sold To.
- Enter the Sale Price for the Asset.
- Enter the Invoice for the sale of the Asset.
- Enter the Asset Tag of the Asset.
- Enter the the Location of the Asset.
- Enter the Configuration / Installation Details for the Asset.
In the Financial Details Section
- Enter the Assets Current Value.
- Enter the Assets Total Service Cost.
- Enter the Assets Total Depreciation.
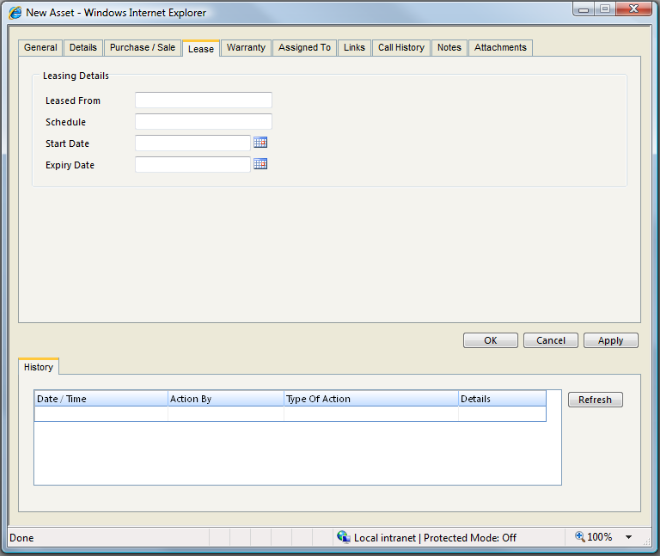
Under the Lease Tab
In the Leasing Details Section
- Enter who the Asset is Leased From.
- Enter the Assets Lease Schedule.
- Enter the Assets Lease Start Date.
- Enter the Assets Lease Expiry Date.
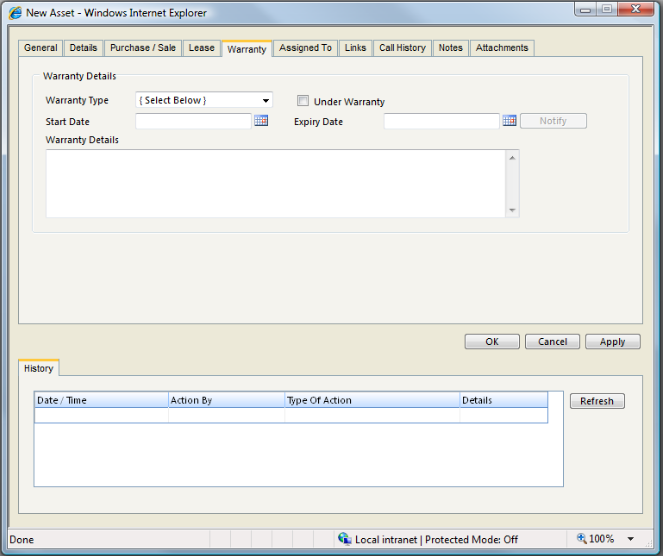
Under the Warranty Tab
- Select the Assets Warranty Type from the pre-defined drop down list.
- Check the Under Warranty checkbox if appropriate.
- Enter the Assets Warranty Start Date.
- Enter the Assets Warranty Expiry Date.
- Enter the Assets Warranty Details.
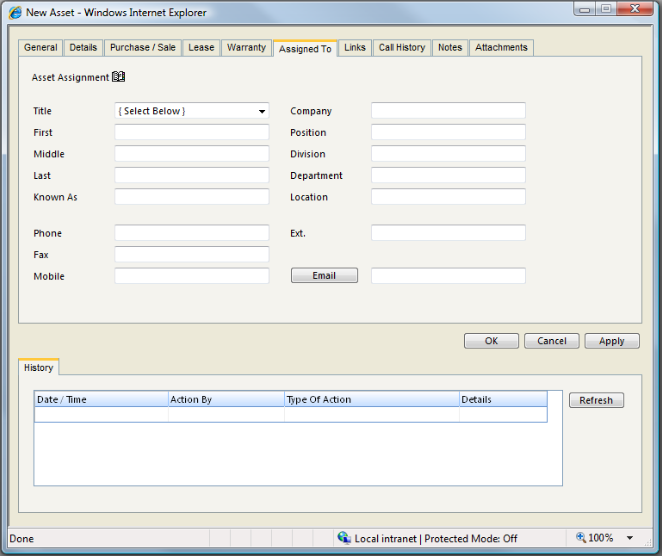
Under the Assign To Tab
- Select the Staff Member that the Asset is assigned to via the Contacts Picker, or enter details as requested
Under the Links Tab
- Link an asset to another asset.

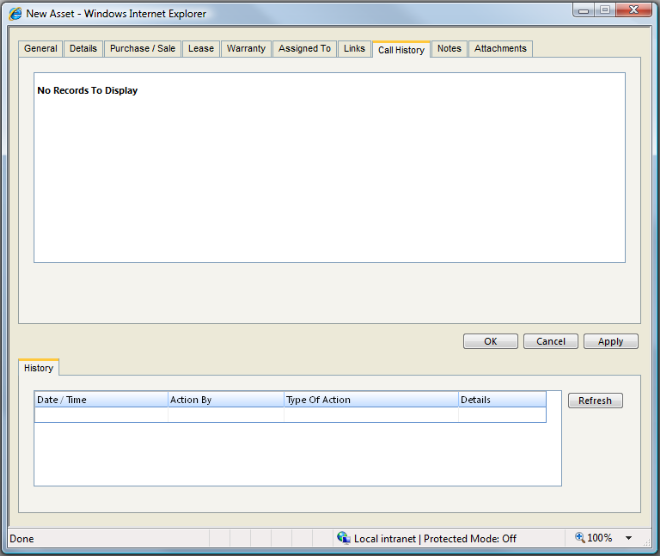
Under the Call History Tab
There are no details to enter in this screen. As this Asset is linked to calls within the system they will be automatically listed on the Tab.
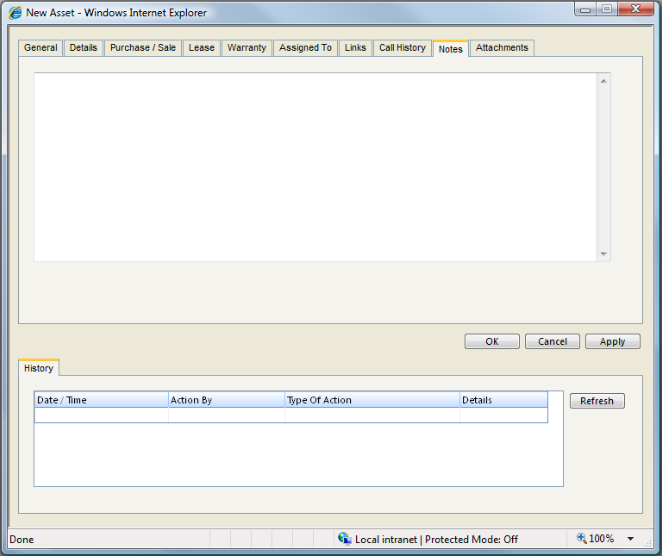
Under the Notes Tab
- Enter any further notes regarding this Asset.
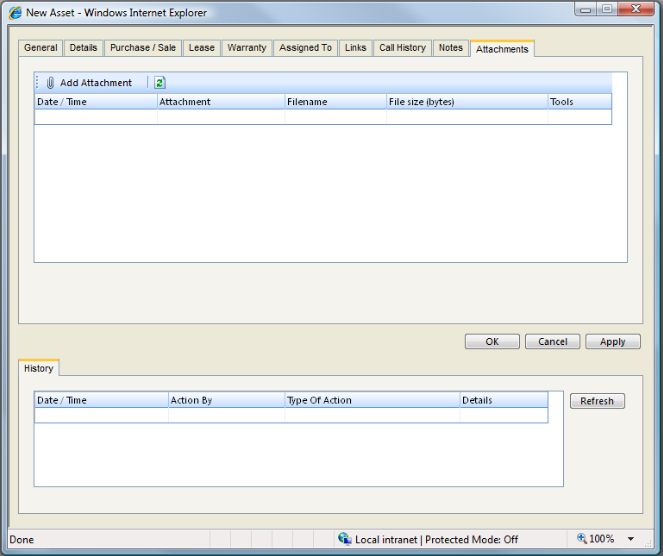
Under the Attachments Tab
- Select Add Attachment to add attachments to the Asset.
See Also
Editing a Asset
Viewing an Asset
Linking an Asset to a Call
Deleting an Asset