Creating A New Queue
Note: For more information regarding set up of Queues please follow the link to view a demonstration video. Click Here
versaSRS allows you to create as many queues as defined by your edition & your licensing. Each queue can be configured uniquely.
- Select the Administrator menu.
- Select the Queues > Create New Queue menu Item. This will open the Manage Queue screen.
- You can add a new Queue by selecting the Add button.
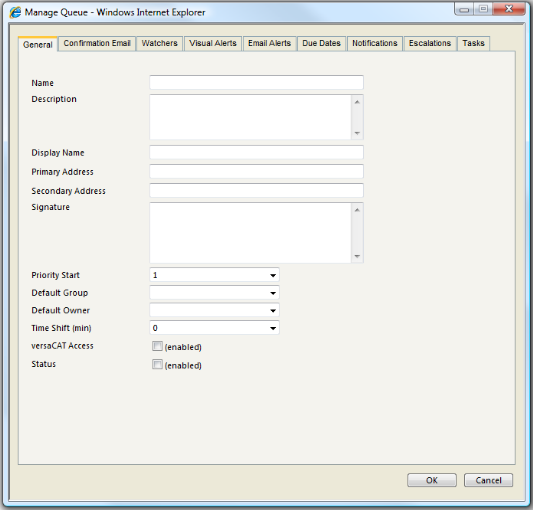
Under the General Tab.
- Enter a Queue Name.
- Enter the Queue Description.
- Enter the Display Name for the queue.
- Enter a Primary address for the Queue.

- Enter a Secondary address for the Queue.
- Enter the Queue Signature.
- Enter the Priority Start.
- Select the Default Group to apply to the Queue (if required).
- Select the Default Owner to apply to the Queue (if required).
- Specify the Time Shift (if required).
- Click the checkbox if you require versaCAT Access to be enabled.
- Click the Status checkbox to enable access to the queue.
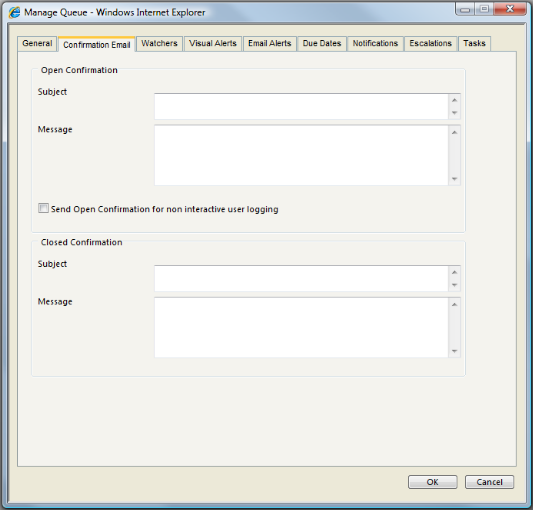
Under the Confirmation Email Tab.
- Enter the Open Confirmation Email Subject.
- Enter the Open Confirmation Email Message.
- Check the Send Open Confirmation for non interactive user logging if required.
- Enter the Closed Confirmation Email Subject.
- Enter the Closed Confirmation Email Message.
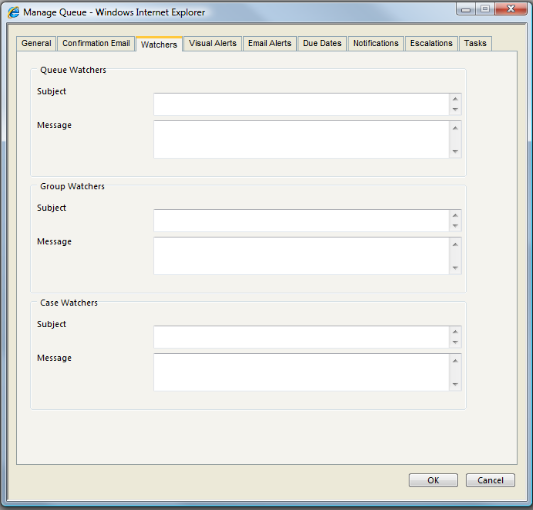
Under the Watchers Tab.
- Enter the Queue Watchers Email Subject.
- Enter the Queue Watchers Email Message.
- Enter the Skill Group Watchers Email Subject.
- Enter the Skill Group Watchers Email Message.
- Enter the Call Watchers Email Subject.
- Enter the Call Watchers Email Message.
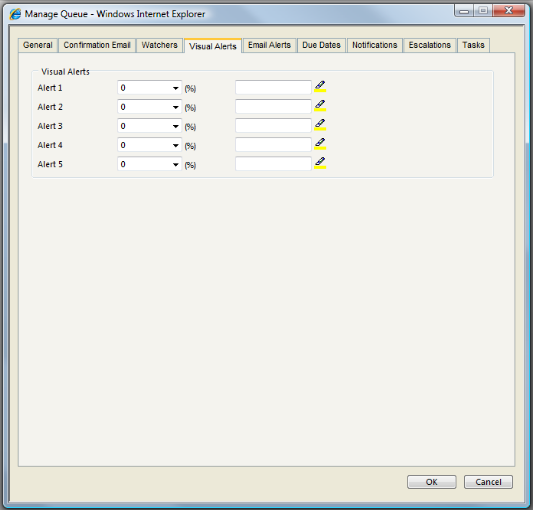
Under the Visual Alerts Tab.
versaSRS allows the Administrator to set Visual Alerts by colour coding Calls. By setting a Visual Alert blue at 50% indicates that once 50% of a Calls allotted time (allotted time being the time from logging date to Due Date) then it will be coloured blue in the main window. Similarly other colours can be allocated to different percentages. Typically the colours will get redder as the Due Date gets closer!.
For each Alert Level the Administrator wishes to use they should:
- Enter the required percentage.
- Select the required colour from the Colour Picker
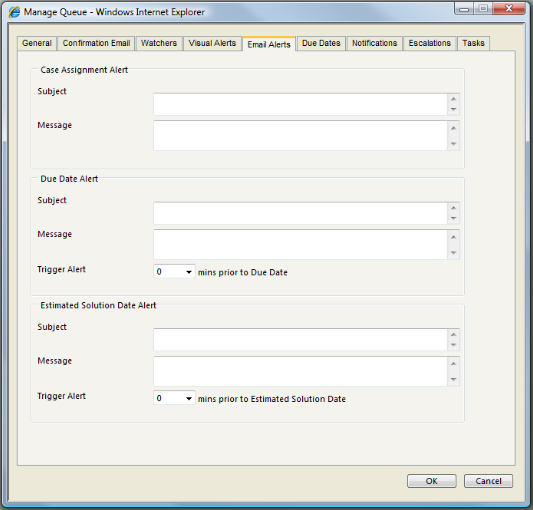
Under the Email Alerts Tab.
- Enter the Call Assignment Alert Email Subject.
- Enter the Call Assignment Alert Email Message.
- Enter the Due Date Alert Email Subject.
- Enter the Due Date Alert Email Message.
- Select the Due Date Trigger Alert time.
- Enter the Estimated Solution Date Alert Email Subject.
- Enter the Estimated Solution Date Alert Email Message.
- Select the Estimated Solution Trigger Alert time.
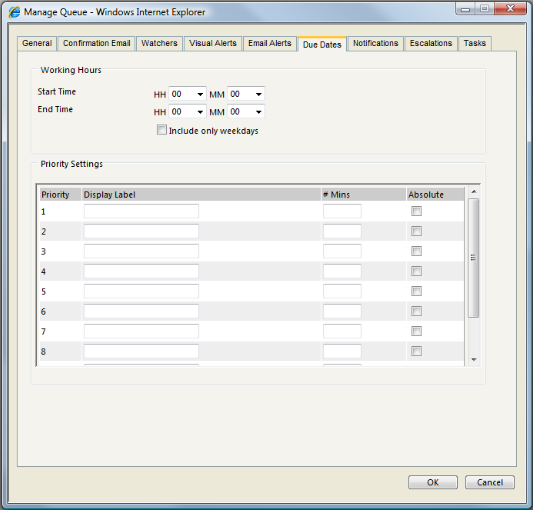
Under the Due Dates Tab.
- Set the Working Hours Start Time.
- Set the Working Hours End Time.
- Check Include only weekdays if desired.
- Set the Priority Settings by entering the display labels and the #Mins that correspond.
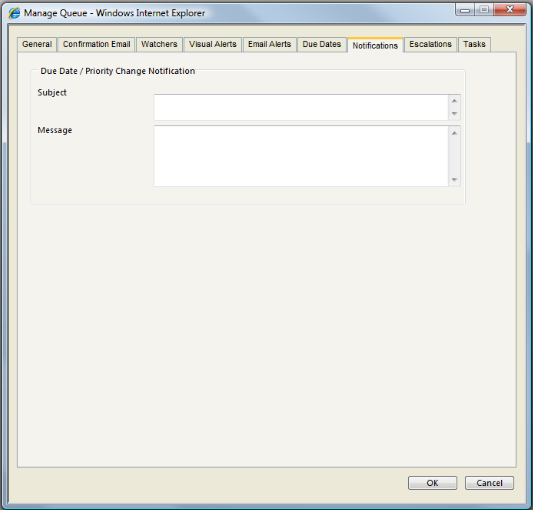
Under the Notifications Tab
- Enter the Due Date / Priority Change Notification email Subject.
- Enter the Due Date / Priority Change Notification email Message.
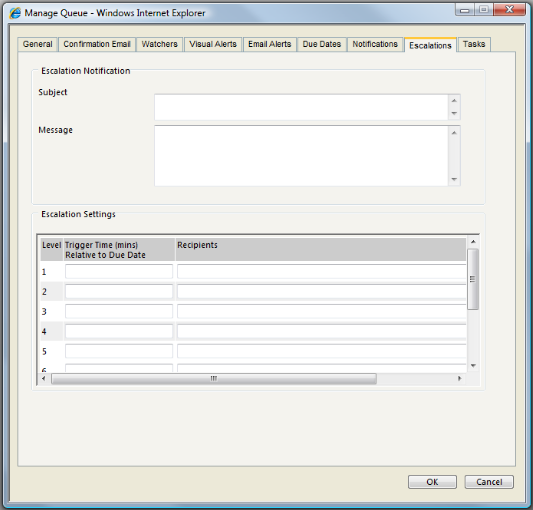
Under the Escalations Tab.
- Enter the Escalation Notification email Subject.
- Enter the Escalation Notification email Message.
- For each Trigger level required, enter the Trigger Time.
- For each Trigger level required, enter the Recipients.
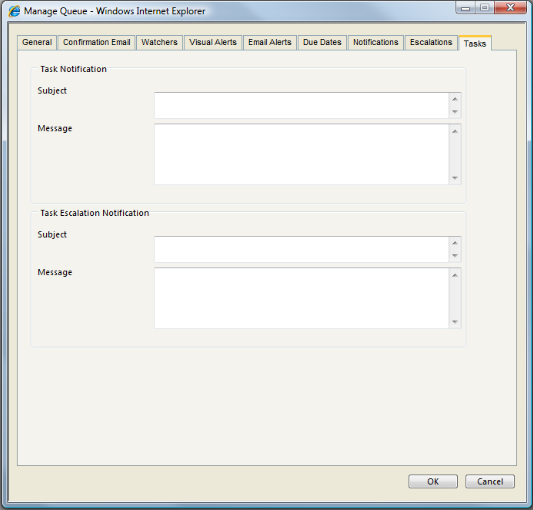
Under the Tasks Tab.
- Enter the Task Notification email Subject.
- Enter the Task Notification email Message.
- Enter the Task Escalation Notification email Subject.
- Enter the Task Escalation Notification email Message.
Select OK
See Also
Queue Overview
Queue Watcher
Open Confirmation Email description and example
Closed Confirmation Email description and example
Queue Signature description and example
Call Alert Emails descriptions and example
Assigning a User to a Queue
Security Profiles